This site is for documenting the build progress of a Van's RV-14A aircraft and share with others.
May 27, 2017
Overhead Reels
May 21, 2017
Magnetic Dry Erase Board
Mounted a 3' X 4' Dry Erase Board above the (future) desk location. I need to get the floor epoxied now because Iv'e just about mounted everything I can think of on the walls and ceilings.
![]() |
| Magnetic Dry Erase Board above the (future) desk |
![]() |
| Assorted magnets across the top. The markers have built in magnets and erasers on each marker. I wonder how many parts will be listed here that need to be reordered because of my learning curve?!!! |
May 19, 2017
Storage Bins
Added two small part storage bins today. Until I epoxy the floor everything I'm doing is on the walls or the ceiling!
| Used a discount coupon to buy these Stack On Organizers at Northern Tool today.There will be a continuous work bench under everything and the flat screen TV above. |
| I'll need to reference this throughout the build! |
May 14, 2017
Overhead Cabinets and Pegboards
So in shopping around I decided on the "Seville Classics Ultra HD" line of storage cabinets, overhead cabinets, pegboards, work benches and accessories. Not only because of the reviews but also the price. I also found the best price by far was through Sam's Club. These overhead cabinets were well packaged, had great assembly instructions and also came with the tools needed for assembly!
April 8, 2017
Storage Space and Organization
In order to have a lot of raised storage space I decided on the Fleximounts Overhead Rack System. It worked out that I could do 3 foot wide by 24 feet long on each side of the workshop creating 48 lineal feet of shelf space (144 square ft.) with room to stack!
This workshop/garage serves two purposes: A workshop to build the RV-14A and a storage area for my Wife's event planning business rental items. That's why I'm putting in so much overhead storage. The 36 ft. long attic storage area will be used as well.
![]() |
| First the support angles are attached using 3" lag bolts screwed in the Truss Rafters which are on 2 ft. centers |
![]() |
| Next the height adjustable brackets are bolted together and attached to the ceiling angles |
![]() |
| 3' X 24' on right side |
![]() |
| 3' X 24' down the left side |
I'm thankful Lowe's is two block's from our house. I installed the Rubbermaid Fast Track hardware to help keep organized and uncluttered.
![]() |
| Rubbermaid Fast Track |
![]() |
| Rubbermaid Fast Track |
March 26, 2017
Workshop Construction
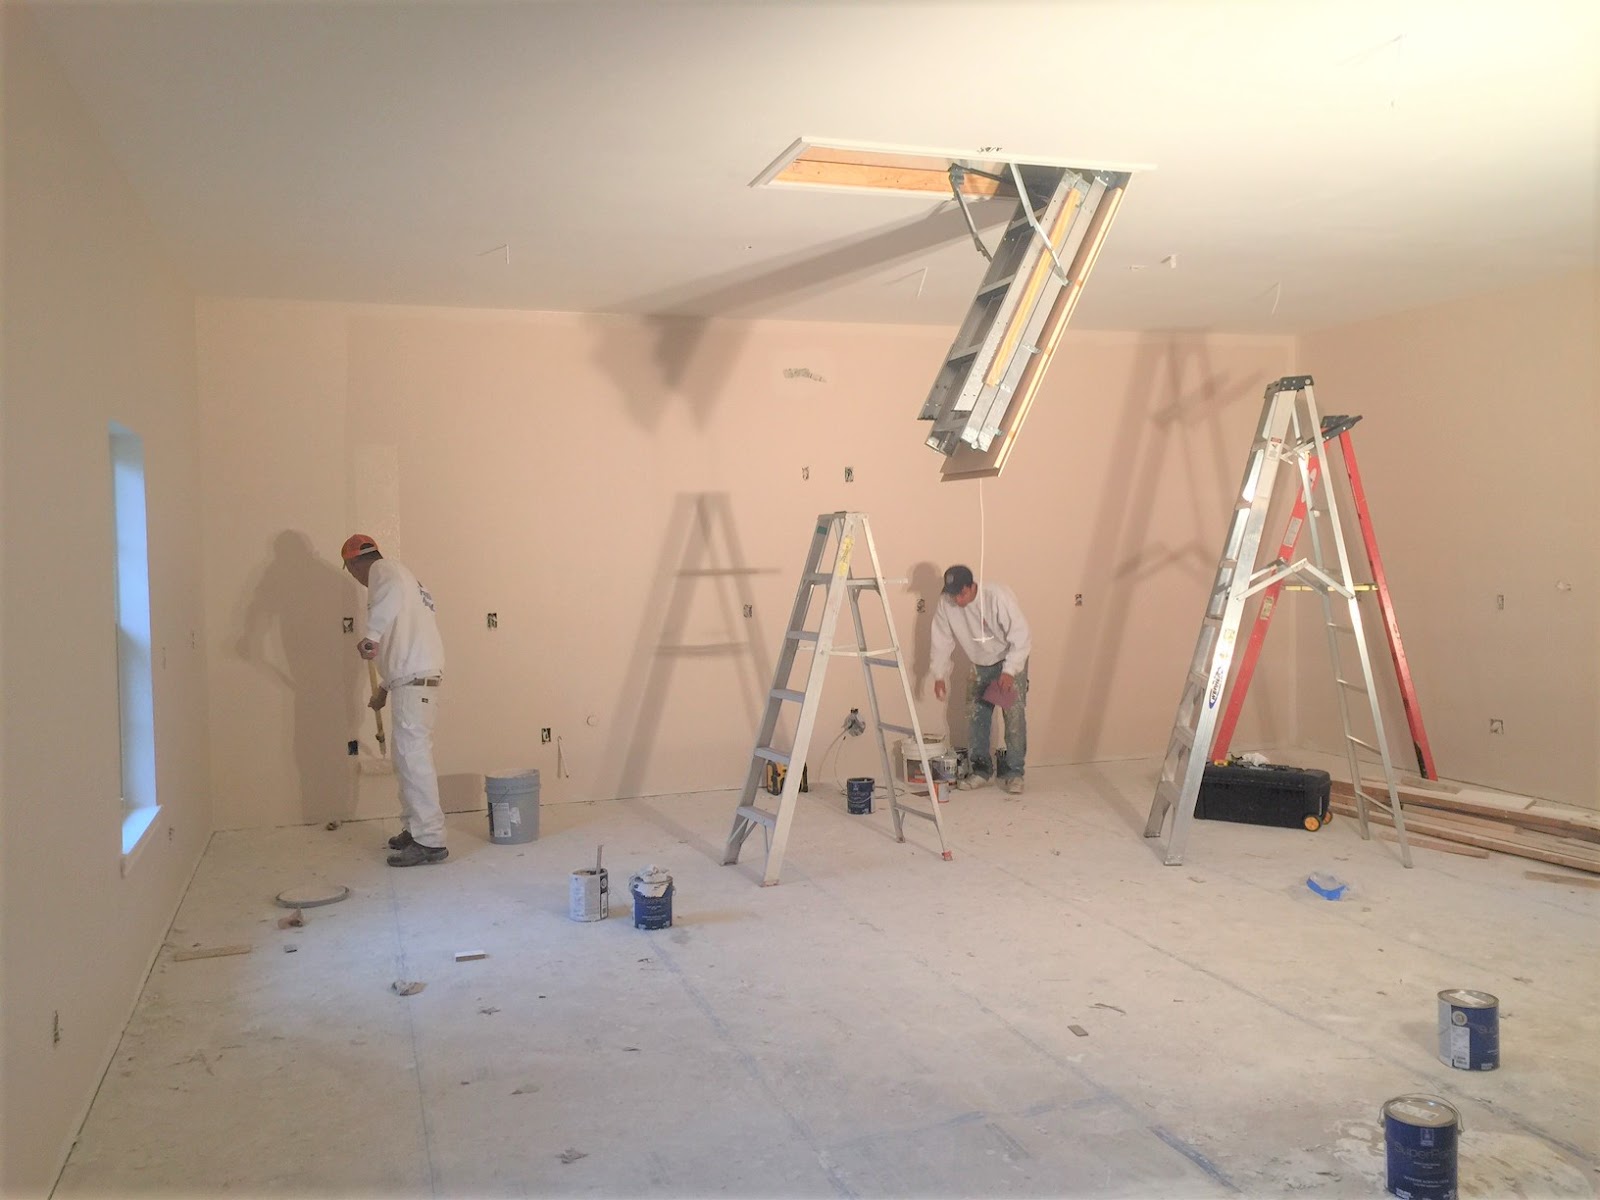
I started construction in October 2015. The workshop/garage is 26' wide by 36' deep. It has 10' high ceilings and attic storage accessed by a pull down ladder. In hindsight, a 30' by 40' foot print would have been nice but I wanted to keep the costs down. Most of the time only 1 car will be parked inside, giving ample room for the build. The best thing I did was insulate with foam! Here in Texas, attic temps can reach 140 to 150 degrees. A foamed attic becomes a conditioned space and will stay at 85 degrees max in the heat of the summer!
![]() |
| Prepping the pad with select fill |
![]() |
| Forms in, footings dug |
![]() |
| Termite treatment spray |
![]() |
| Laying of vapor barrier and steel |
![]() |
| Concrete finished and forms stripped |
![]() |
| Framing begins |
![]() |
| Walls framed (10' ceiling) |
![]() |
| Trusses rolled and roof sheeting on |
![]() |
| Building wrap on. Windows and doors installed |
![]() |
| Sided and painted, waiting on the brick |
![]() |
| Spray foam insulation after electrical rough in |
![]() |
| Trimming the foam |
| Sheetrock delivery |
| Interior Painting |
Subscribe to:
Posts (Atom)